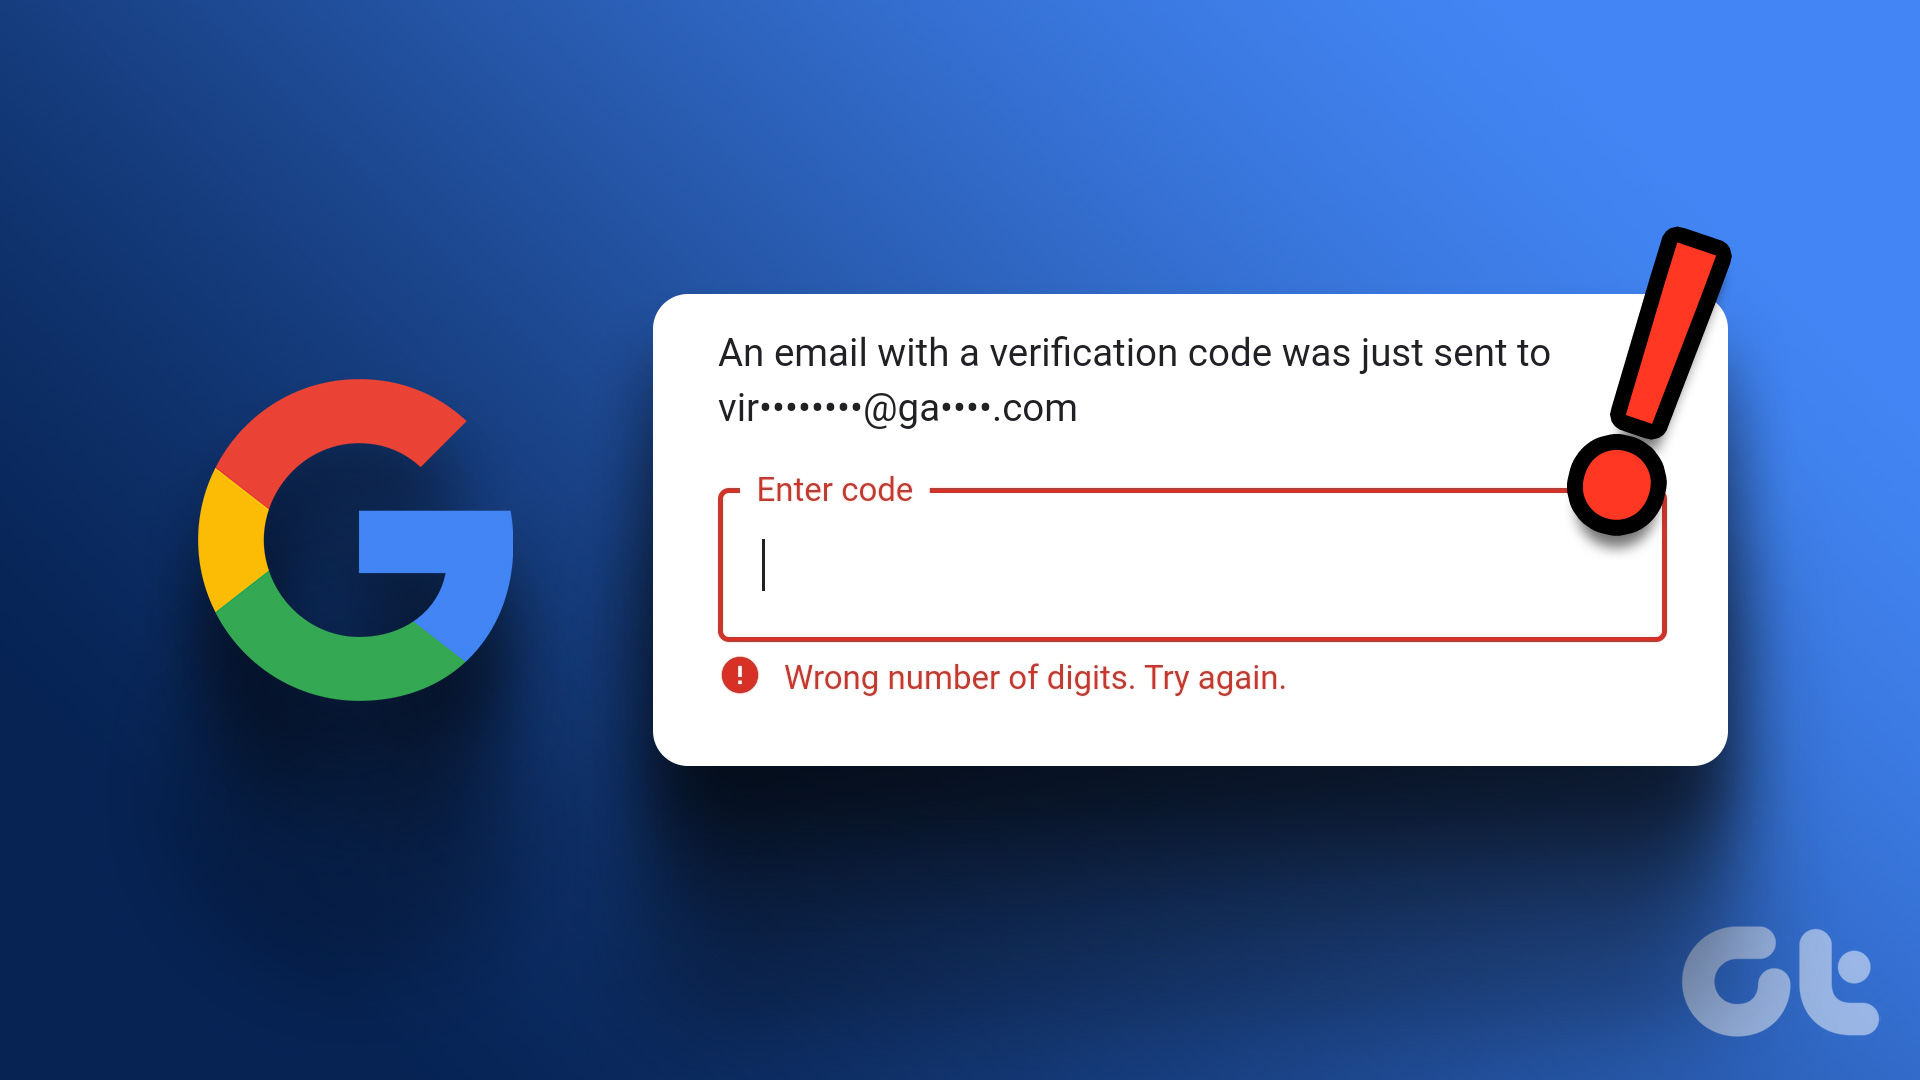
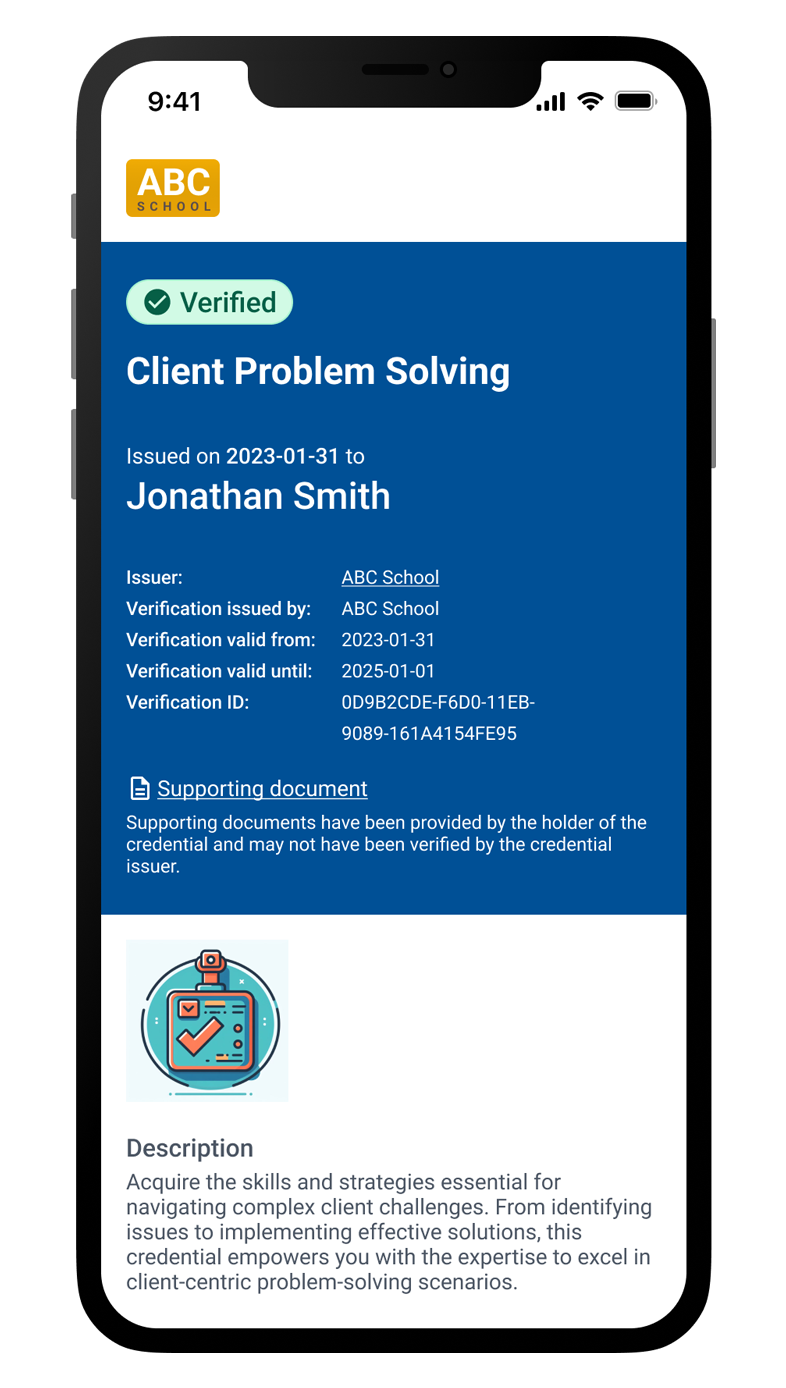
To address website verification issues, ensure that your domain records are correctly entered and that your site is accessible. Check for proper DNS configuration, clear cache, and verify site ownership through the intended platform’s guidelines.
Getting your website verified can seem overwhelming, but it’s a critical step in establishing trust and authenticity online. Whether you’re dealing with search engines or social media platforms, verification enhances your site’s credibility and may improve search engine rankings. Encountering verification issues can stem from missteps like incorrect DNS settings, inaccessible web pages, or outdated information.
A well-verified website assures visitors and algorithms alike that your domain is legitimate, and your content is reliable. If you’re struggling with website verification, you’re not alone, but the solution often lies in meticulous attention to detail and following the verification entity’s process to the letter. With a bit of troubleshooting, you can overcome these hurdles and achieve the verified status your website deserves.
Table of Contents
ToggleIdentifying Common Verification Issues
Struggling with website verification problems? You are not alone! Several webmasters face similar challenges daily. Recognizing these issues is the first step to fixing them. Let’s dive into two frequent hiccups during website verification.
Verification Timeout
Timing is key during verification. A Verification Timeout occurs when the verification process takes too long. Web services have set time limits for verification checks. If your site doesn’t respond in time, verification fails.
- Check your internet connection – Slow speeds can delay response.
- Server performance – Ensure your hosting server can handle requests quickly.
- Try late at night – Less web traffic can mean faster verification.
Still stuck? Reach out to your hosting provider for insights on server response times.
Incorrect Verification Records
Detail matters. An Incorrect Verification Record is often due to typos or incorrect input into your domain’s DNS settings. It’s like giving the wrong address to your friend; they won’t find your house!
- Access your domain’s DNS settings within your registrar’s portal.
- Locate the TXT, CNAME, or other records provided for verification.
- Ensure every character matches what your verification process requires.
Contact your domain registrar’s support team for help if you cannot edit DNS records.
Pre-verification Checklist
Before diving into the verification process, a thorough pre-verification checklist is crucial. This checklist ensures your website is ready for a successful verification. Let’s walk through the steps you need to take.
Check Website Accessibility
First and foremost, confirm that your website is online and accessible. Here’s a quick list to guarantee that:
- Clear Cache: Clear your browser cache to see the latest version of your site.
- No Index: Make sure your website is not set to “no index” in the settings.
- Server Status: Check your hosting service for any server issues.
- URL Correctness: Ensure all URLs submitted for verification are accurate and functioning.
Verify Account Permissions
Having the right permissions set for your account is essential. Here’s what you should verify:
- Log in to your verification service with an account that has administrative privileges.
- If multiple users have access, confirm you’re using an account with edit rights.
- In case of third-party services, ensure you’ve granted proper API permissions.
Troubleshooting Steps
Encountering website verification issues can halt your progress during your web management journey. Don’t worry – with the right troubleshooting steps, you can quickly get back on track. Below, find essential guides to address common verification problems.
Refreshing Verification Process
Start afresh if the initial verification does not work. Go to the verification page of your website and trigger the process again. This act can often solve temporary glitches.
Resolving Captcha Issues
Struggle with CAPTCHA can be a roadblock. Ensure visibility of the CAPTCHA prompt and that audio options are available if the visual verification is unclear. Updating the browser or trying a different one may also help.
Clearing Browser Cache
Over time, cache and cookies might cause issues. Clear your browser cache to get rid of this problem. Here’s a simple way to clear cache:
- Access your browser settings.
- Look for ‘Privacy’ or ‘History’.
- Select ‘Clear browsing data’.
- Check the boxes for cookies and cached files.
- Hit ‘Clear data’.
Remember, a cleared cache means websites load the latest versions. This could fix your verification problem.

Certificate And Keychain Solutions
Encounter a red warning screen on your website, or does your browser say ‘Not Secure’? It’s time to address website verification issues. A secure connection error can turn visitors away. Read on for effective fixes.
Repair Certificate Errors
Certificate errors can scare off users and harm your site’s credibility. They often signal a problem with SSL (Secure Socket Layer) certificates.
Here are steps to repair certificate errors:
- Check certificate validity. Ensure it has not expired.
- Look for domain name mismatches. Your certificate must match your domain.
- Renew or replace outdated certificates promptly.
- Confirm your certificate chain is complete.
For renewal or replacement, access your host’s cPanel or equivalent. Navigate to ‘Security’ and select ‘SSL/TLS.’ Follow prompts to update your certificate.
Handling Keychain Issues
Keychain is a password management system used on Apple devices. It stores certificates and keys, but sometimes it may cause access issues.
To handle keychain issues:
- Open ‘Keychain Access’ app on your Mac.
- Find the problematic certificate.
- Right-click and select ‘Get Info.’
- Expand the ‘Trust’ section. Change settings to ‘Always Trust.’
- Close the info window. Enter your password if prompted.
Remember to lock your keychain again to ensure security.
Advanced Verification Techniques
Struggling with website verification? Advanced techniques can help. They prove ownership and secure your site’s trust. Let’s dive into two effective methods.
Google Analytics Verification Method
Google Analytics offers a smooth verification path. It links your website to Analytics for added benefits. Here’s how:
- Sign into Google Analytics with edit permissions.
- Choose the right account and property.
- Click ‘Admin’, and navigate to ‘Property Settings’.
- Copy the tracking code provided.
- Paste this code into your website’s header.
- Return to Google’s verification page, and click ‘Verify’.
Adding Domains To Trusted Sites
Add your domain to your web browser’s trusted sites. This step ensures smooth access for verification bots. Here’s what you do:
- Open your browser’s settings or options.
- Find the ‘Security’ or ‘Privacy’ tab.
- Locate ‘Trusted Sites’ or a similar section.
- Enter your website’s URL and confirm by clicking ‘Add’.
- Apply and save your changes. Now your domain is trusted.
Run the verification process again. Your website should now verify without issues.

Credit: www.credivera.com

Frequently Asked Questions On How To Fix Website Verification Issues
How Do I Verify My Website?
To verify your website, access Google Search Console with your Google account, add your property, select Google Analytics on the verification page, and click ‘Verify’.
Why Won’t Google Verify My Website?
Google might not verify your website due to incorrect verification code placement, site accessibility issues, or incorrect domain settings. Ensure correct code implementation and that your site is publicly accessible.
Why Couldn’t I Verify My Site On Google Adsense?
Site verification on Google AdSense may fail if your site is inaccessible, violates AdSense’s policies, has incorrect verification code, or if your account lacks permissions. Check AdSense guidelines, ensure code accuracy, and verify ownership through the correct Google account.
What Happens If Google Can’t Verify My Account?
If Google can’t verify your account, you may not regain access and risk losing account data. Try account recovery or seek support for assistance.
Conclusion
Navigating website verification issues can be tricky, but with the right approach, you’ll conquer them with ease. Remember to apply the correct verification method, check for common errors, and ensure your site’s accessibility. With these careful steps, your site’s legitimacy will shine, boosting both trust and traffic.
Fix those issues, and watch your web presence strengthen.

